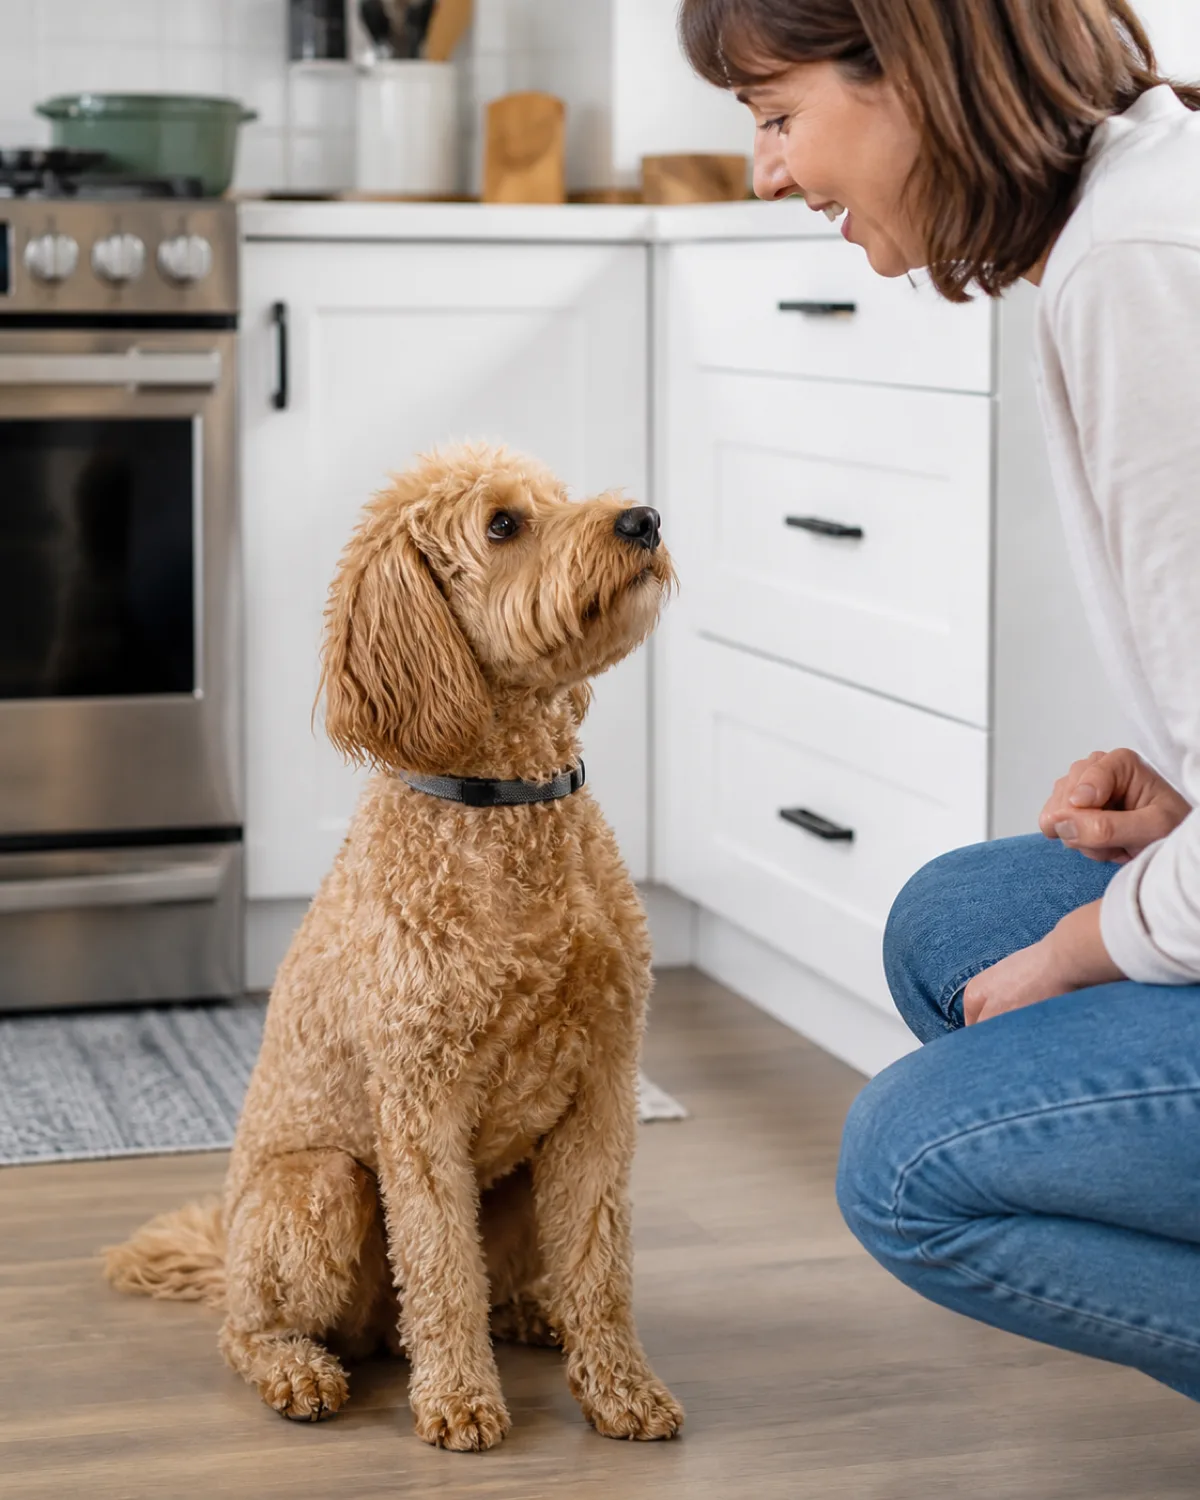
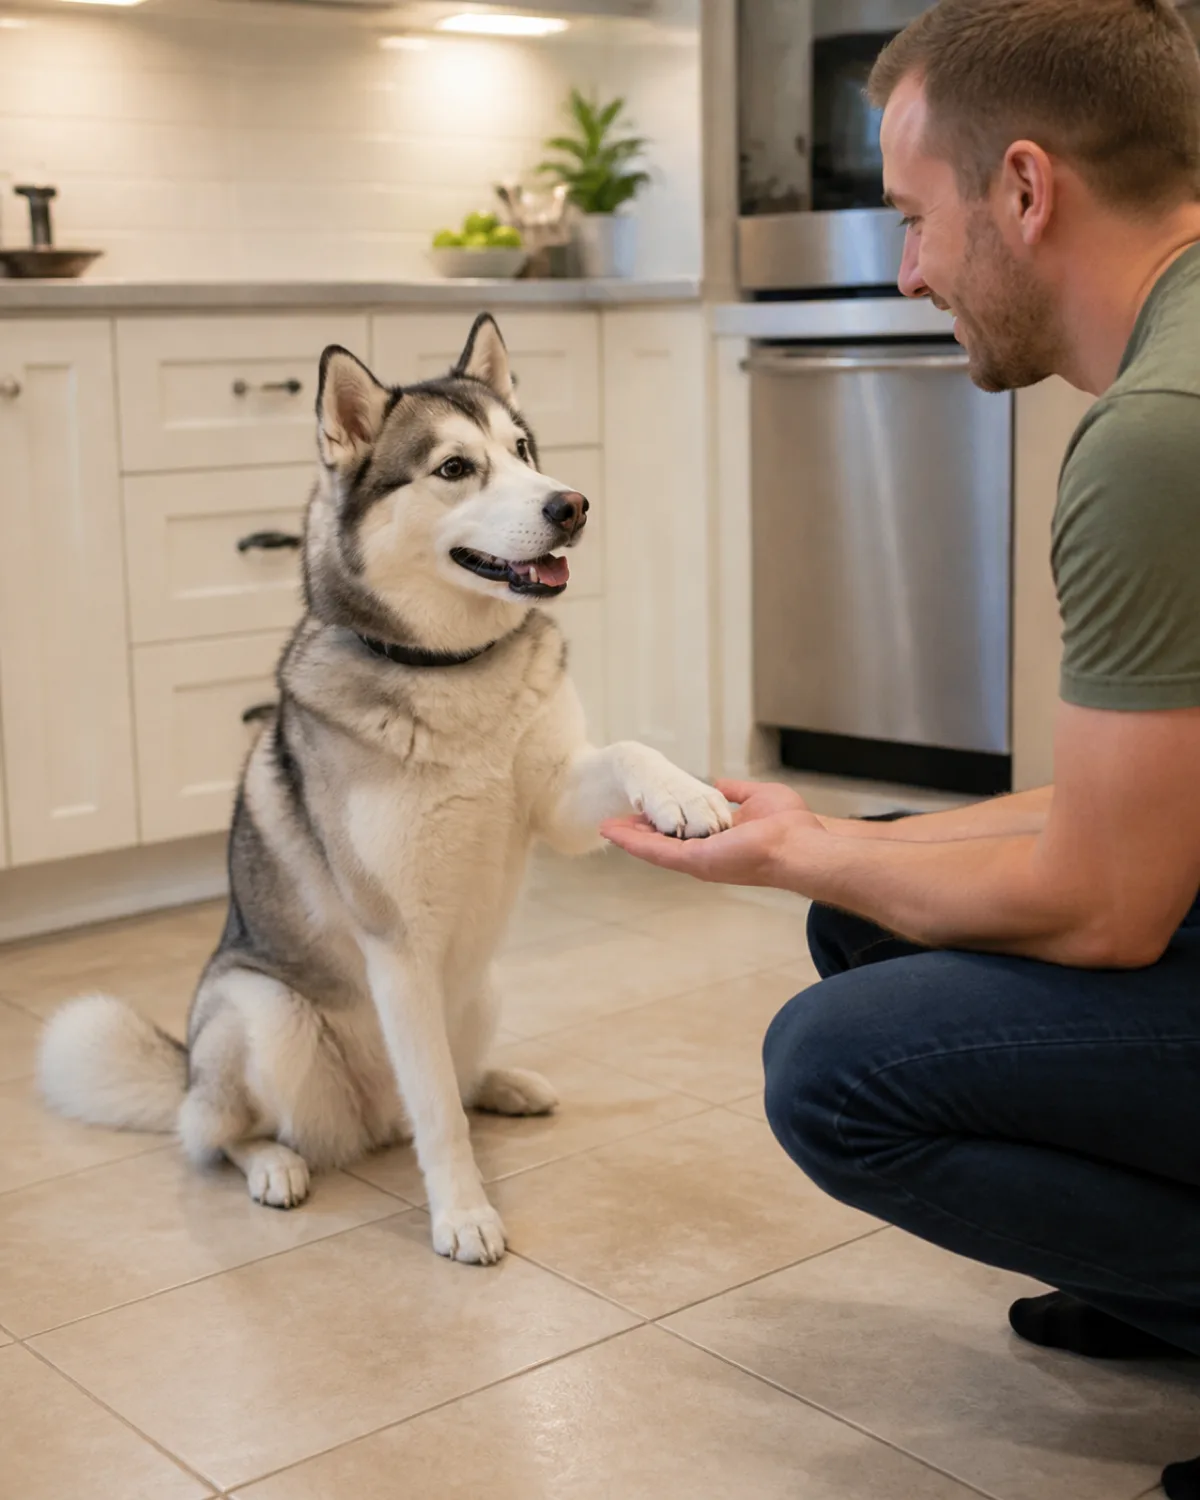
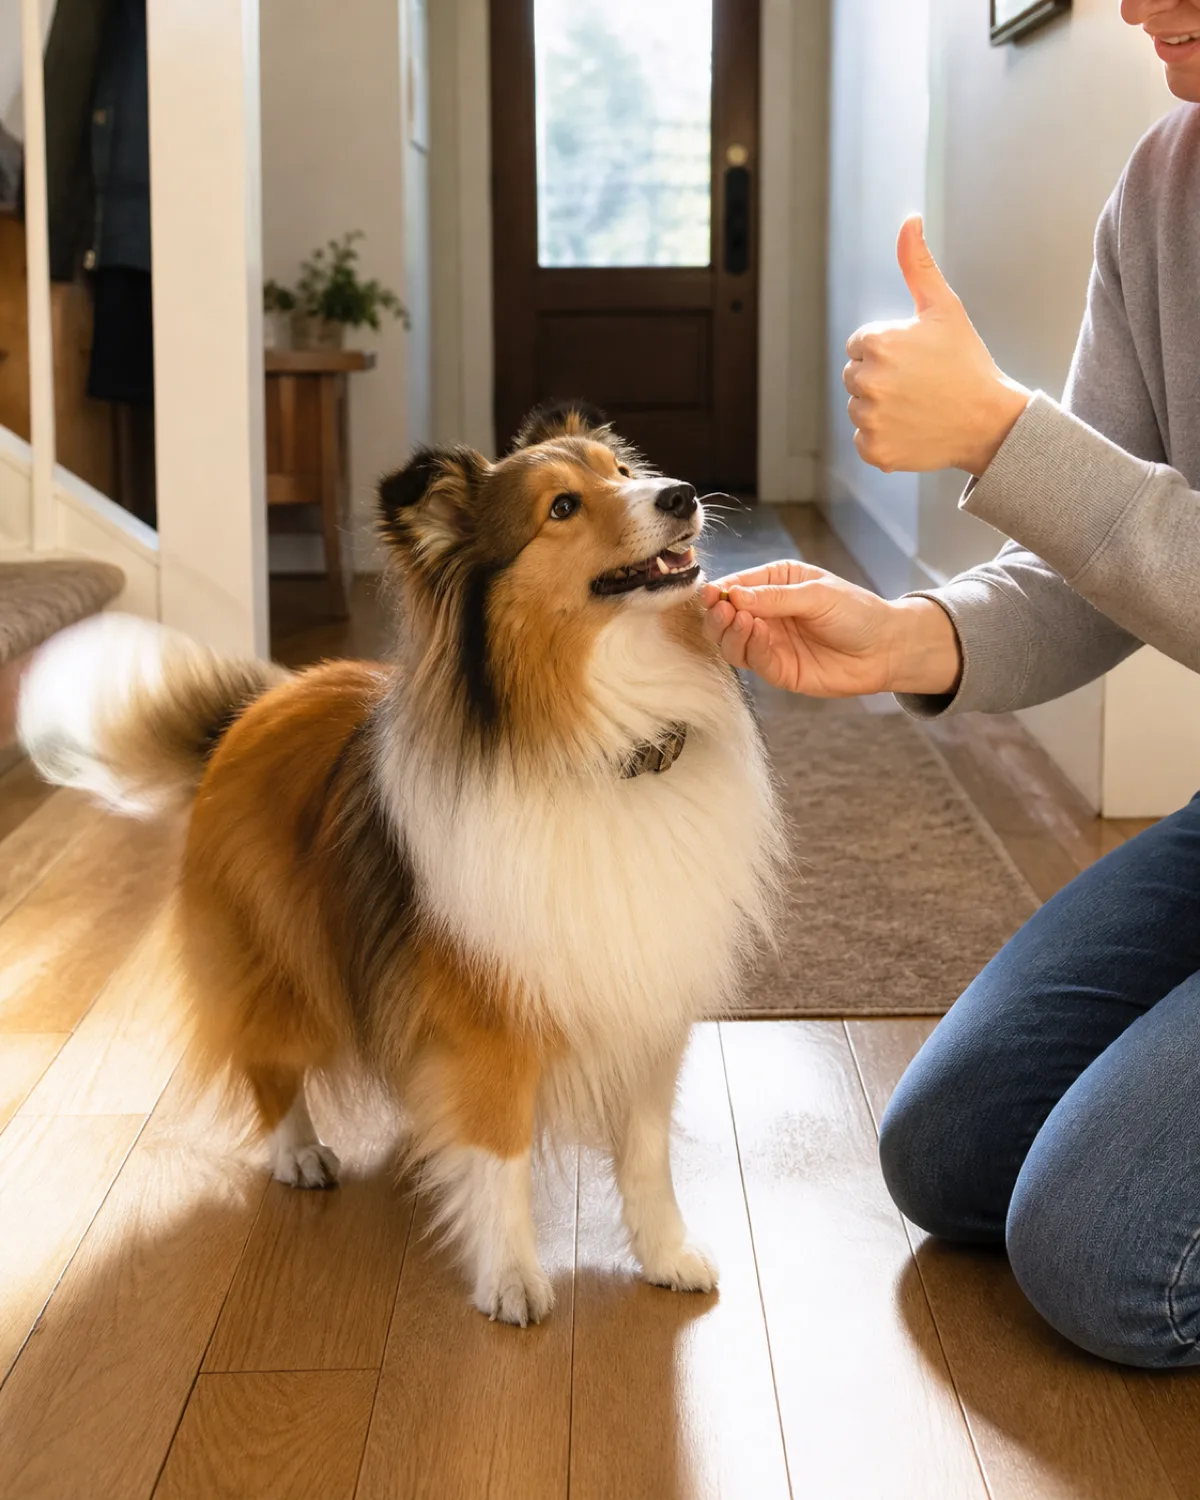
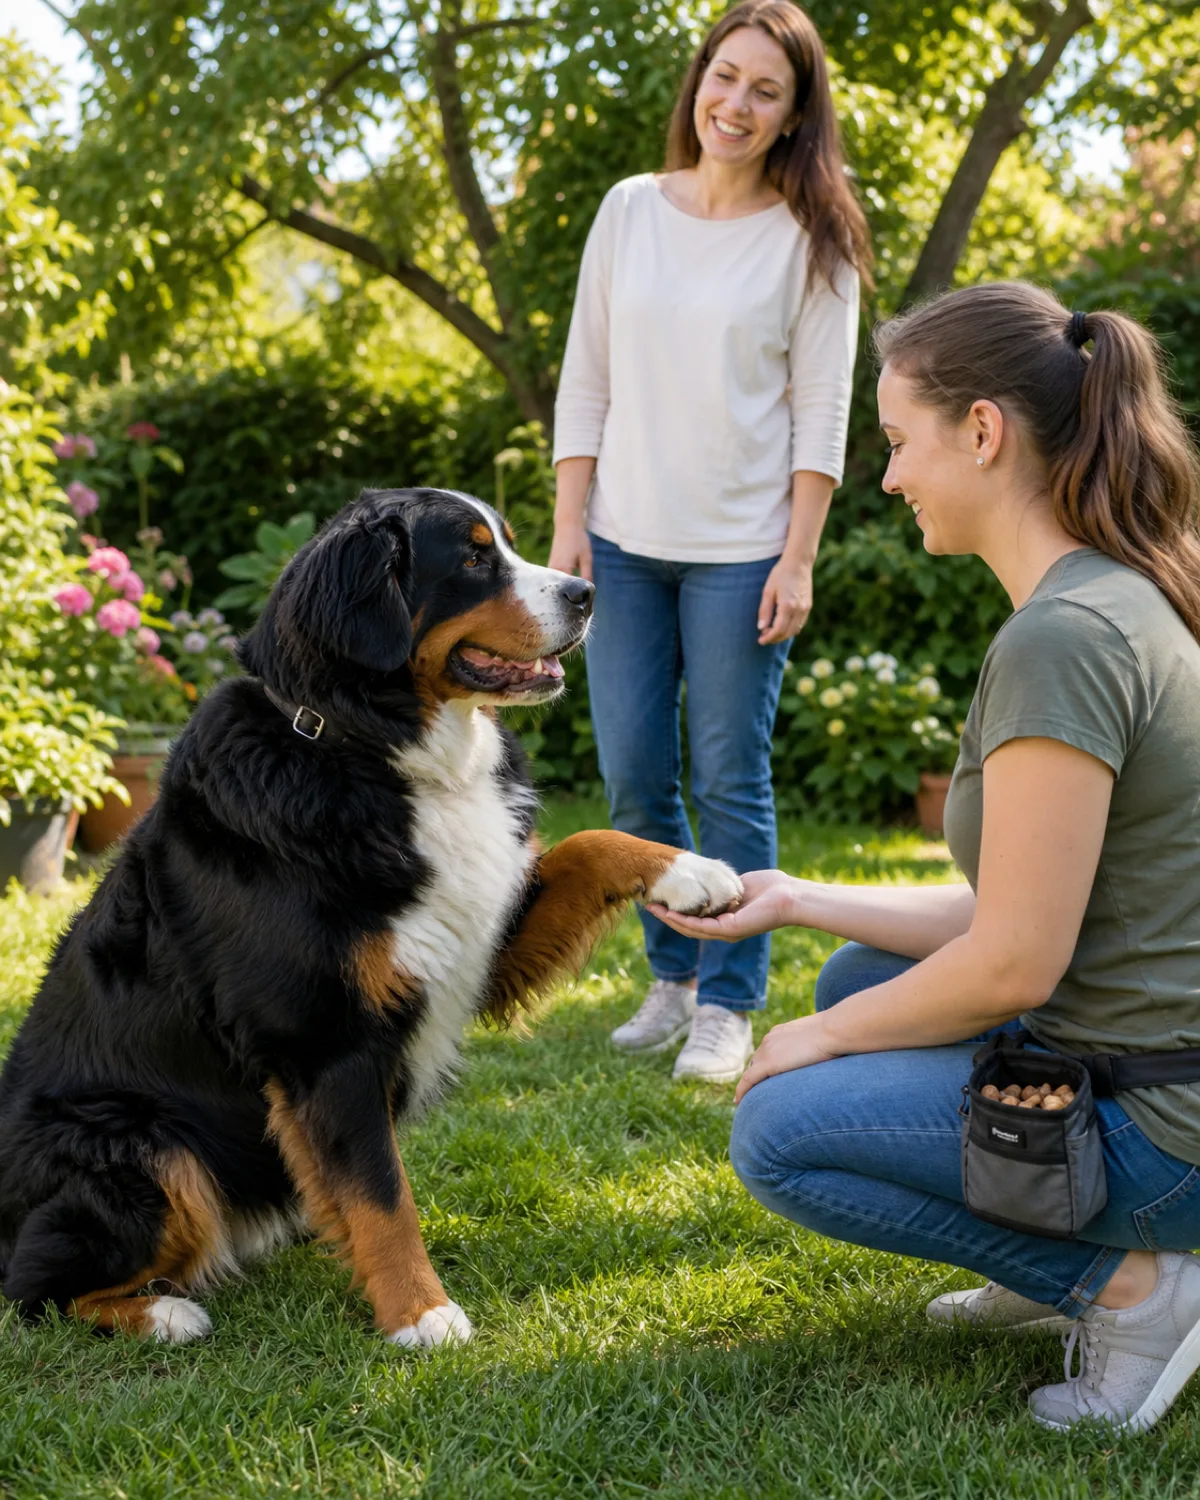
Our oldest learned shake in one afternoon. Not because she was gifted. Because we finally stopped grabbing her paw and let her figure it out on her own terms.
That shift — from "let me place your foot here" to "I will wait until you offer it" — changed everything. She went from tolerating the whole routine to choosing it, and within three days she was shoving her paw at anyone who sat on the couch.
Here are fourteen steps for teaching shake that actually stick, from the very first closed fist to a polished greeting routine at the front door.
1. Make Sure Your Dog Can Sit on Cue Before You Start
Shake starts from a sit. A dog that is standing or lying down can technically lift a paw, but the mechanics are wobbly — the weight needs to shift backward onto the haunches so the front legs come free.
Ask for three clean sits in a row before you move on. If your dog is still popping back up after a second, spend a few sessions solidifying that foundation first.
Quick test: Can your dog sit and stay seated while you count slowly to three? If yes, you are ready to teach shake.
If not: Go back to how to teach a dog to sit and practice in short two-minute blocks until the sit is automatic.
The stronger the sit, the faster the shake comes. Dogs that can hold a sit for five seconds without fidgeting almost always offer the paw within the first three attempts.
Tip
Foundation First
Sit is the gateway command. Every trick that involves the front legs — shake, high-five, wave — starts from a stable sit.
2. Pick Small Soft Treats That Your Dog Can Swallow in One Second
Training treats need to disappear fast. If your dog has to stop, chew, crunch, and swallow a hard biscuit after every repetition, you lose the rhythm — and rhythm is what makes trick training click.
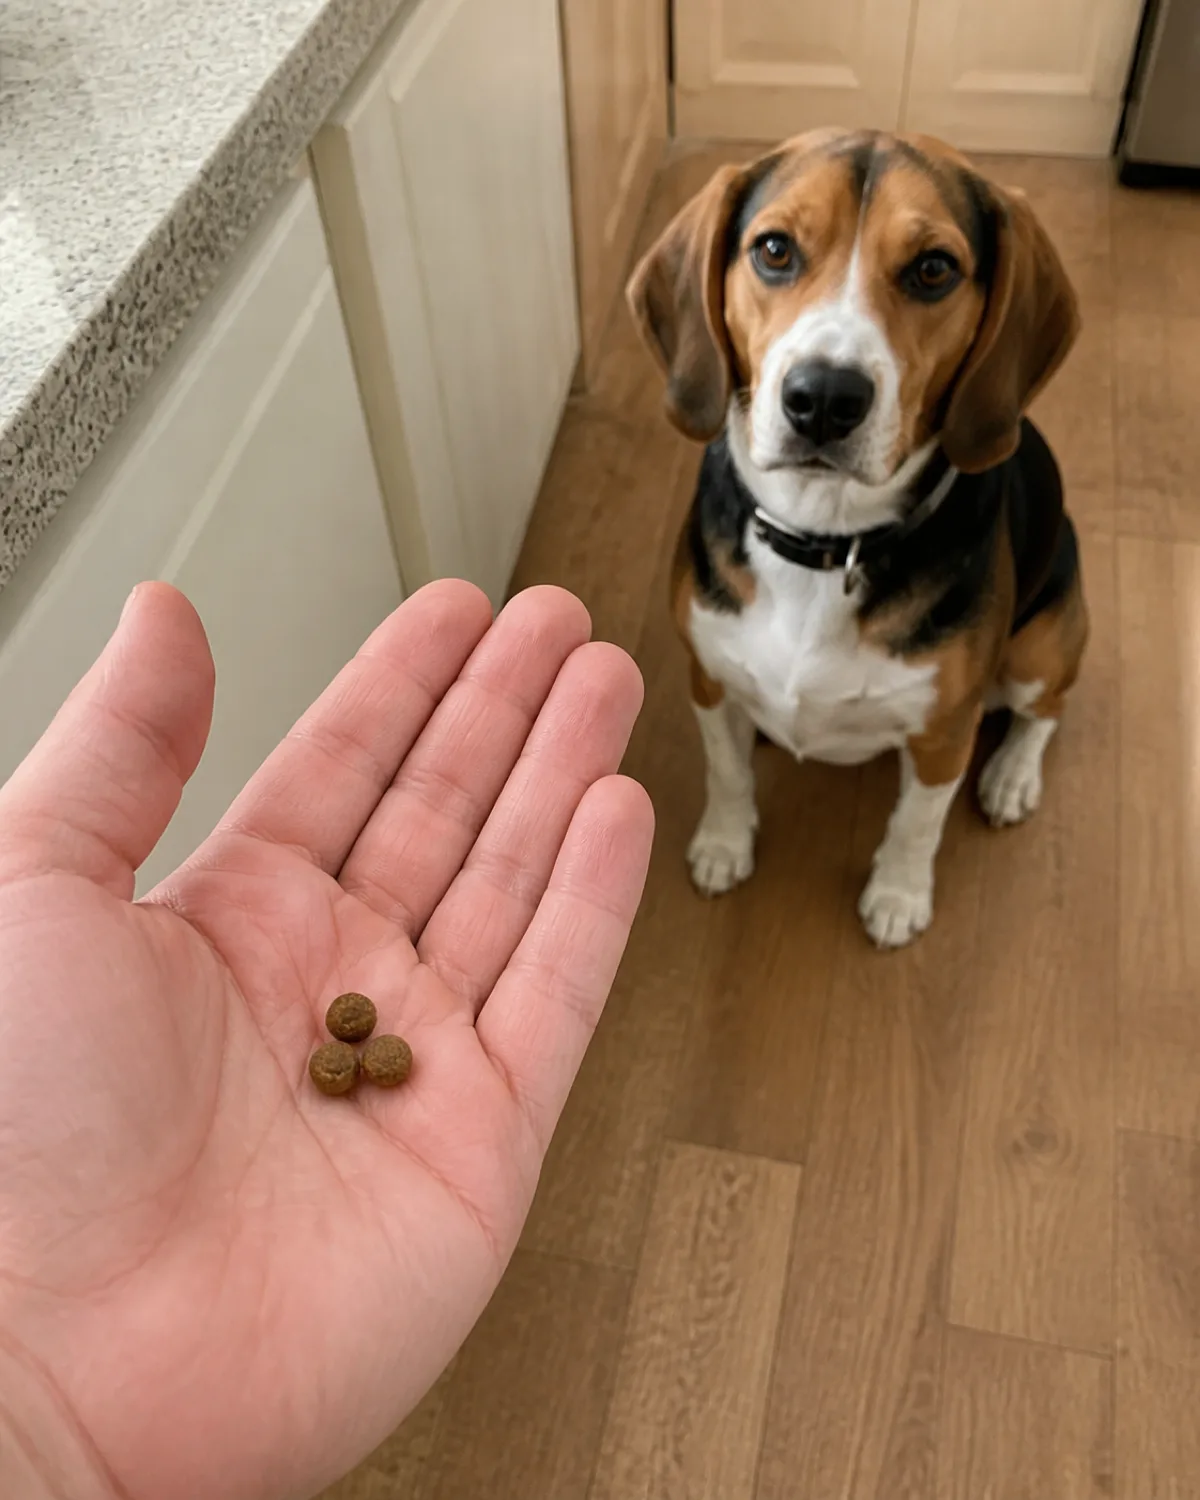
Cut treats to pea size. Soft commercial training treats work well, and so do small cubes of cooked chicken breast, string cheese, or homemade dog treats baked thin and broken into bits.
Treat type
Speed
Works for shake training?
Pea-sized soft training treats
instant swallow
best choice
Tiny cubes of cooked chicken
1-2 seconds
great
Hard crunchy biscuit
5-10 seconds of chewing
too slow
Large jerky strip
10+ seconds of tearing
way too slow
The goal is eat in one gulp, immediately look back at you for the next rep.
3. Present a Closed Fist at Your Dog's Paw Height
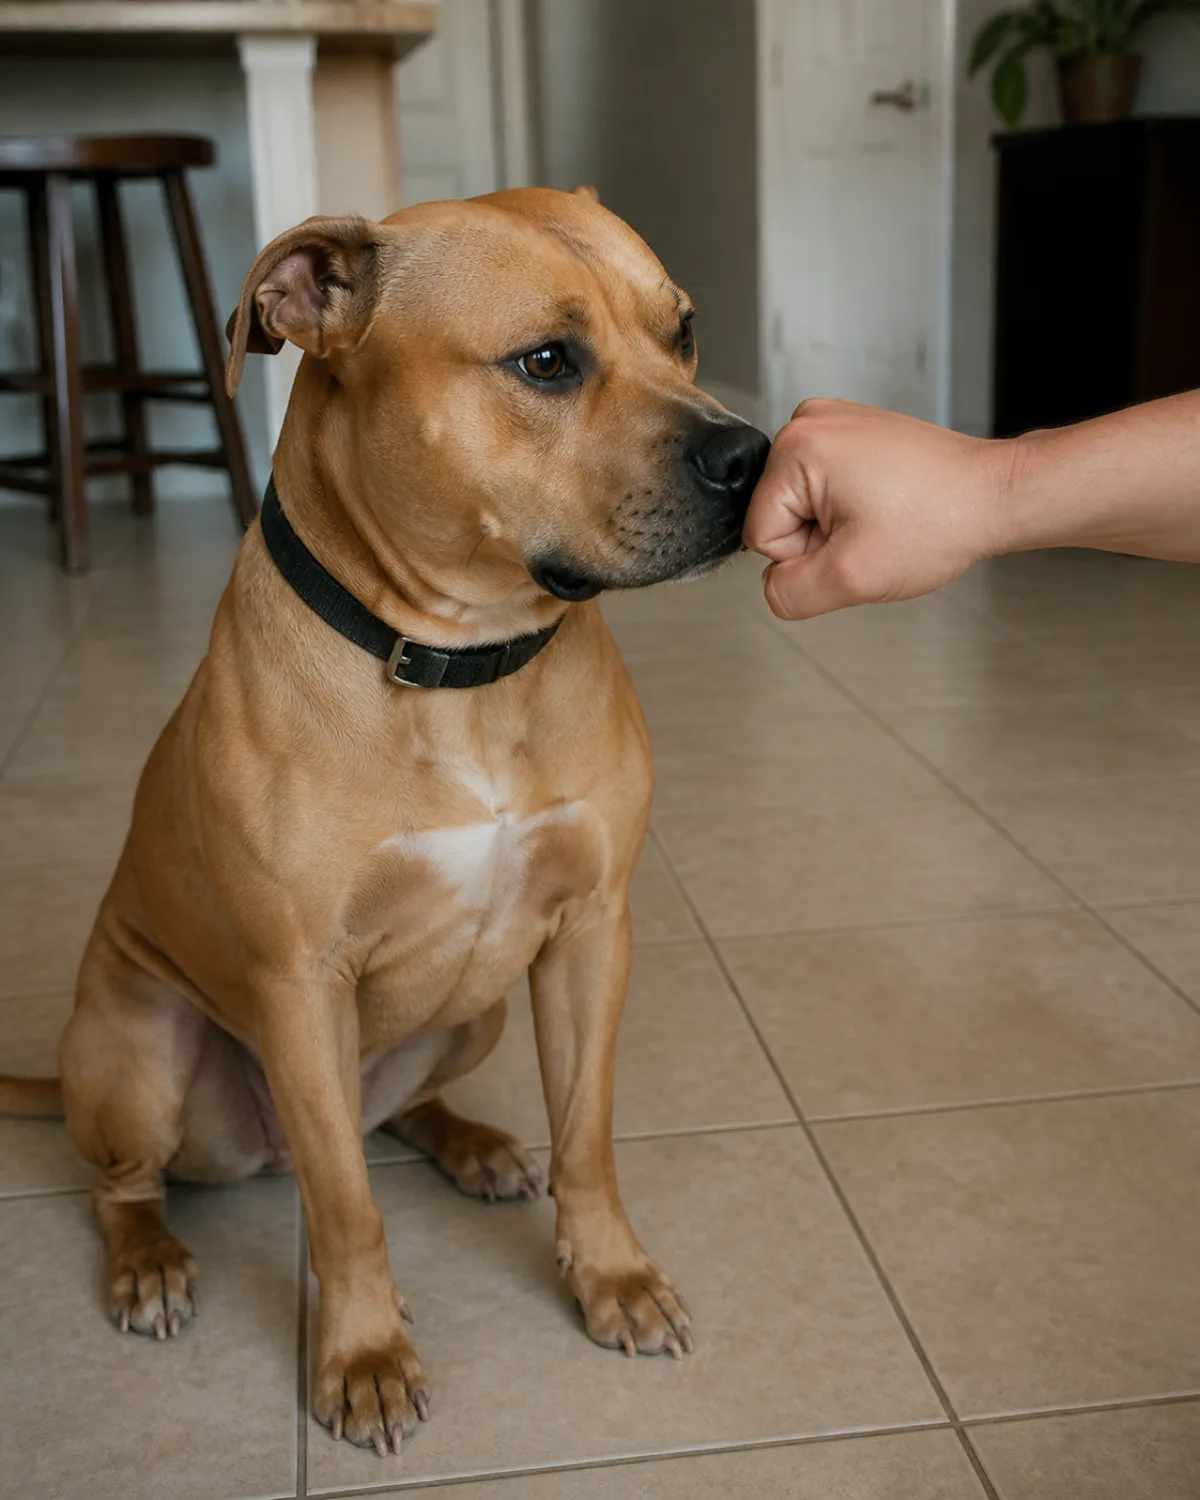
Sit your dog in front of you. Take a treat, close it in your fist, and hold your fist at the height of your dog's chest — right where the front legs meet the body.
Not higher, not lower. Too high and the dog noses upward. Too low and the dog noses downward or lies down to reach it. Chest height is the sweet spot that triggers the paw-at-it instinct.
Fist orientation: Knuckles facing up, treat sealed inside. The dog knows it is there by smell.
Distance from dog: About 10-15 centimeters from the dog's chest. Close enough to reach, far enough that the dog has to extend a paw to make contact.
Keep your fist still. Do not wave it, shake it, or push it toward the dog. Just hold it there, quietly, and let the dog problem-solve.
4. Wait for the Natural Paw Lift Instead of Grabbing
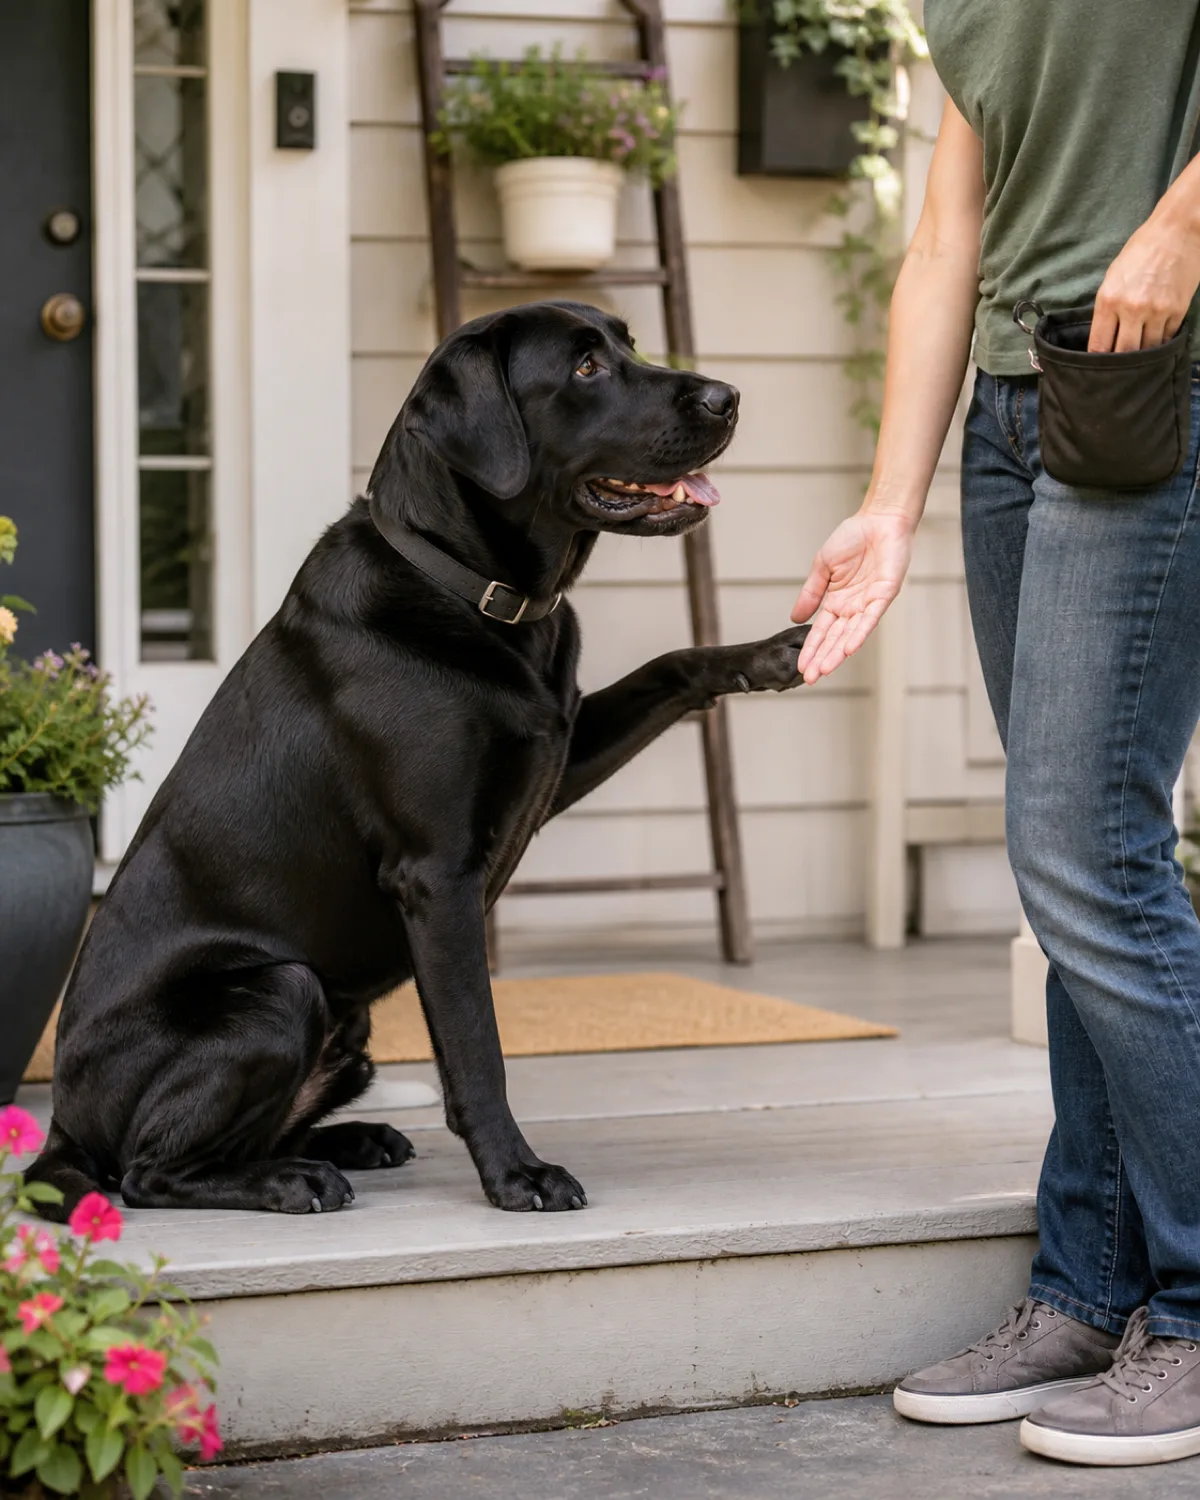
This is where most people go wrong. They get impatient, reach down, pick up the dog's paw, place it in their own hand, and give a treat.
The dog learns nothing from that except "sometimes my human grabs my foot and then I get food." That is tolerance training, not trick training.
Instead, hold the fist still and wait. Most dogs will first try nosing — ignore that. Then they will try licking — ignore that too. Within five to fifteen seconds, most dogs try a third strategy: pawing at the fist.
The very first time that paw lifts off the ground — even half a centimeter — that is your moment.
Save This
Why Patience Beats Grabbing
1Dog chooses the behaviorA paw offered is a paw remembered — muscles encode voluntary movement faster than passive placement
3Faster to fluentDogs trained by capturing the natural lift reach reliable shake in 2-3 sessions vs 7-10 for placement
4Transfers to other tricksThe same capturing principle works for high-five, wave, and paw targeting later
pawliqa.com
5. Mark the Exact Second the Paw Touches Your Hand
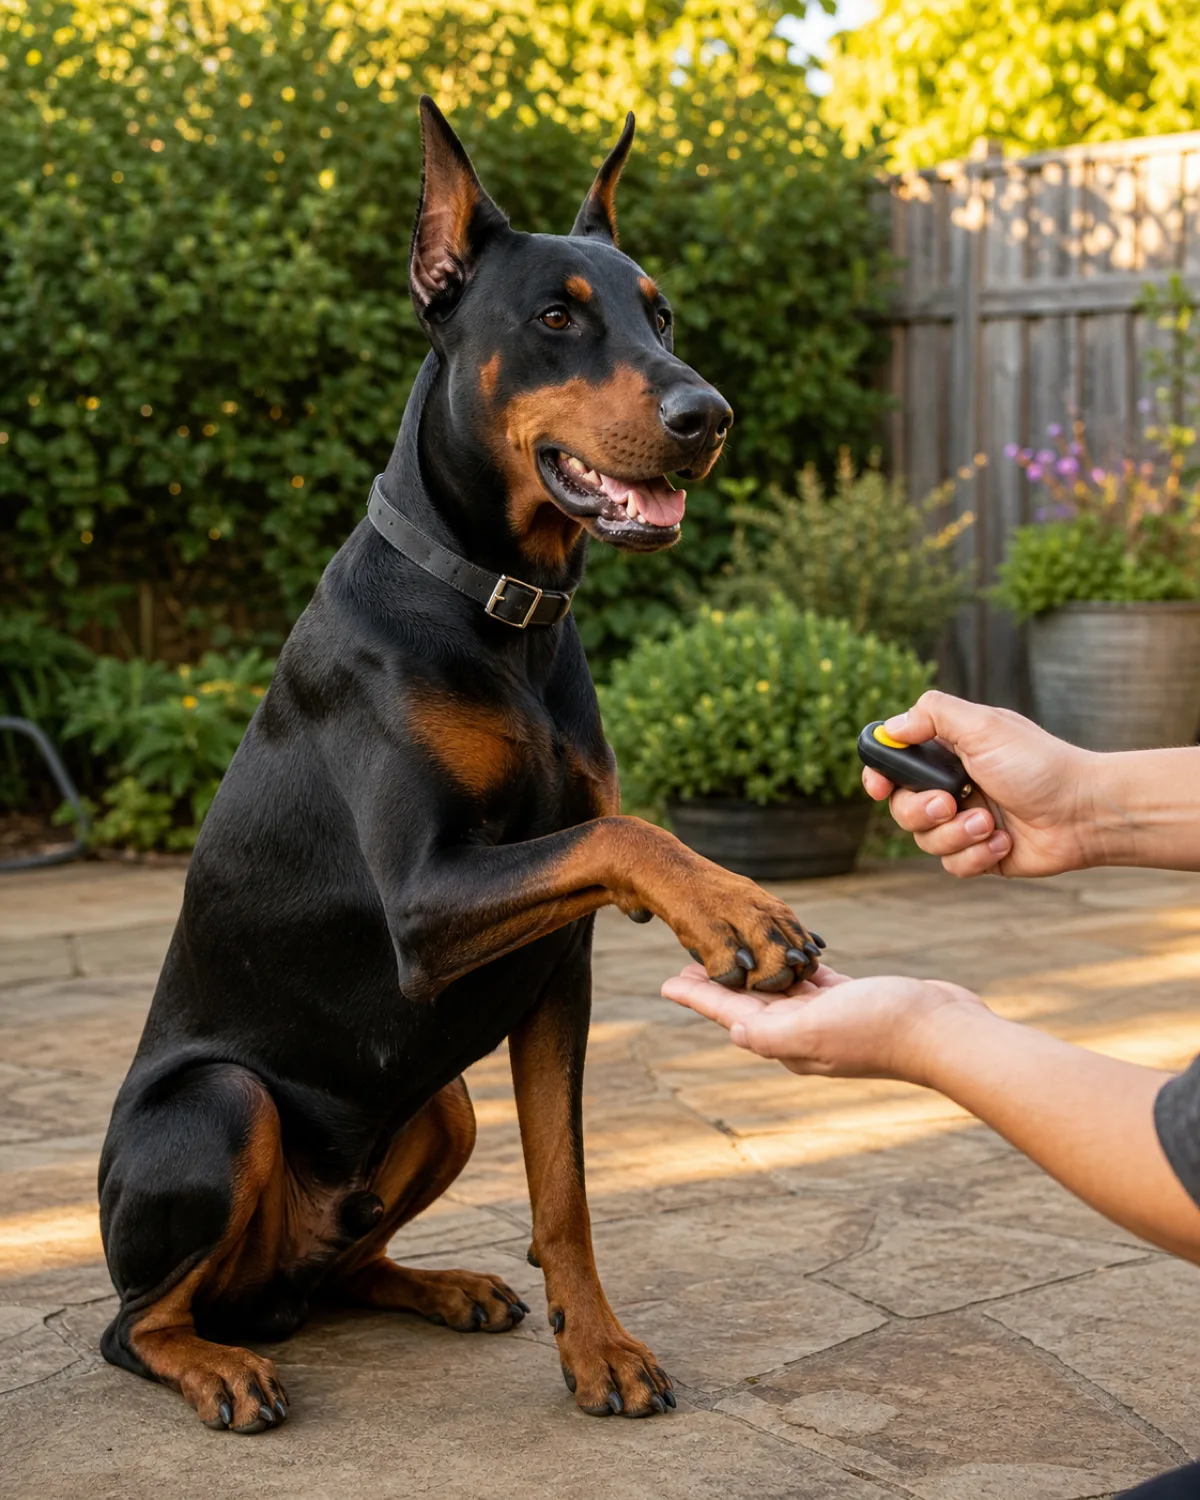
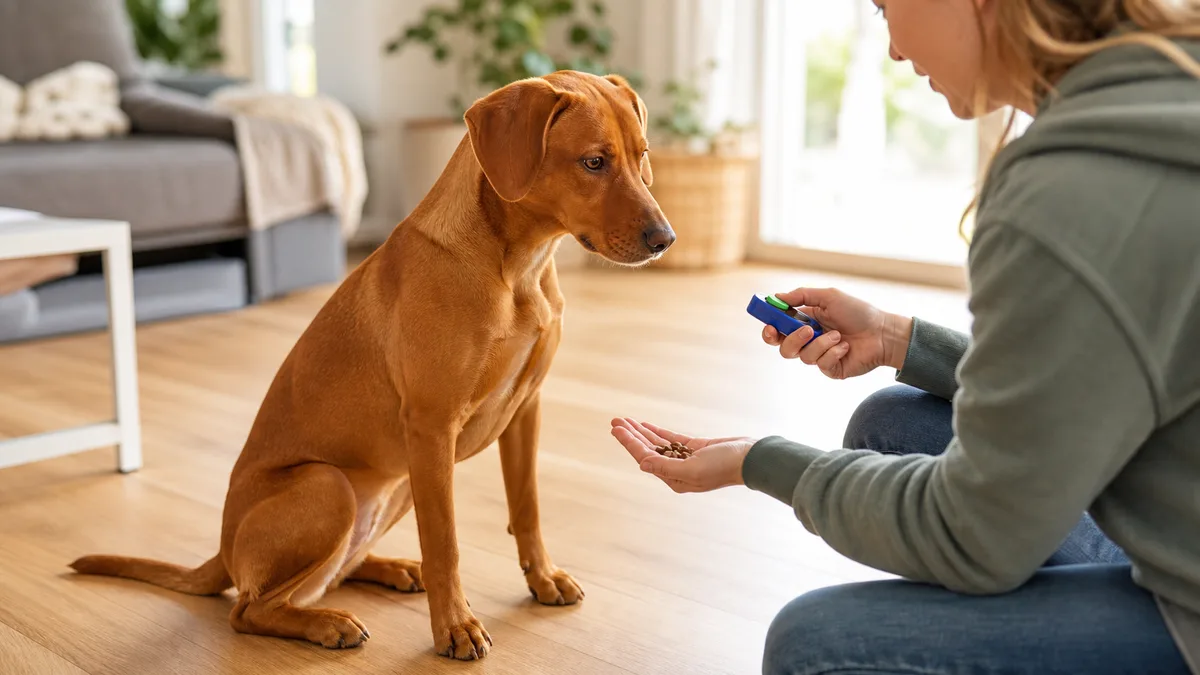
The instant the paw contacts your hand, say "yes" in a bright, short tone — or press a clicker if you use one. Then open the fist and give the treat immediately.
Timing matters more than anything else in this step. A marker delivered within half a second tells the dog exactly which micro-movement earned the reward. A marker delivered two seconds late could be marking the head turn or the tail wag instead.
Clicker vs voice marker: Both work. Clickers are more precise because the sound is always identical, but a consistent "yes" is perfectly fine for trick training.
Common mistake: Saying "good boy" as the marker. It is too long and too similar to general praise — the dog cannot pinpoint the exact moment.
If you are new to marker training, practice without the dog first. Drop a tennis ball and say "yes" the instant it bounces. Ten reps of that and your reflexes will be sharp enough.
6. Cup the Paw Gently After the Touch Becomes Consistent
Once your dog is reliably touching your fist with a paw five to eight times in a row, start adding a gentle hold.
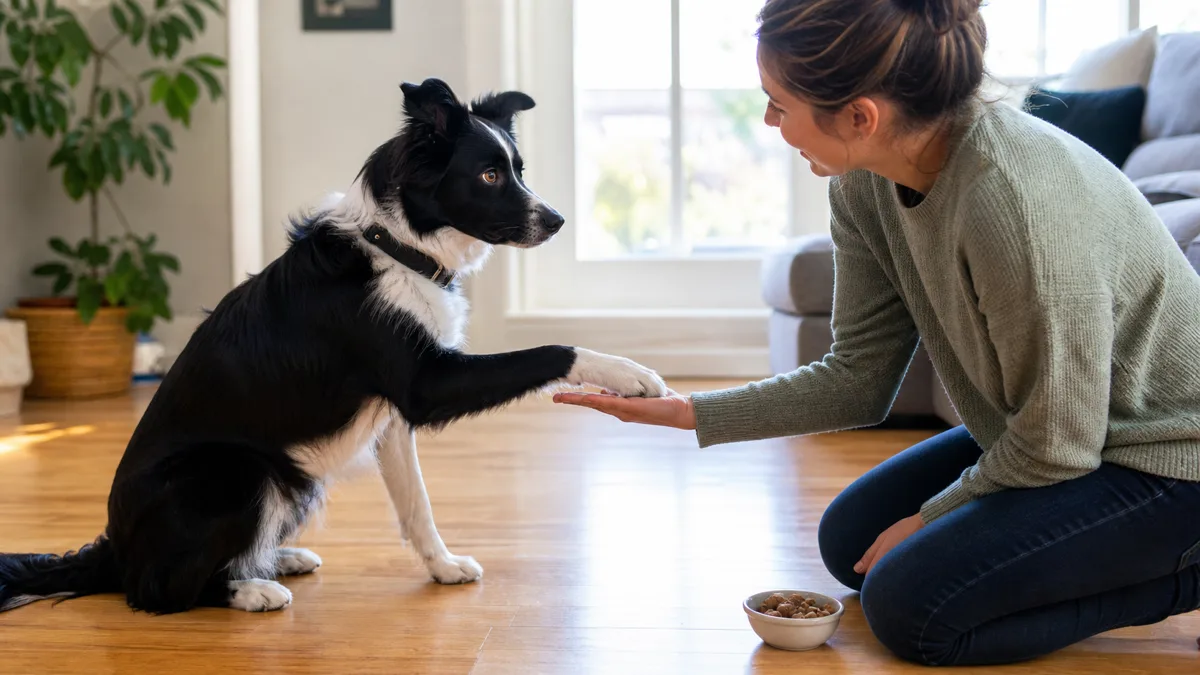
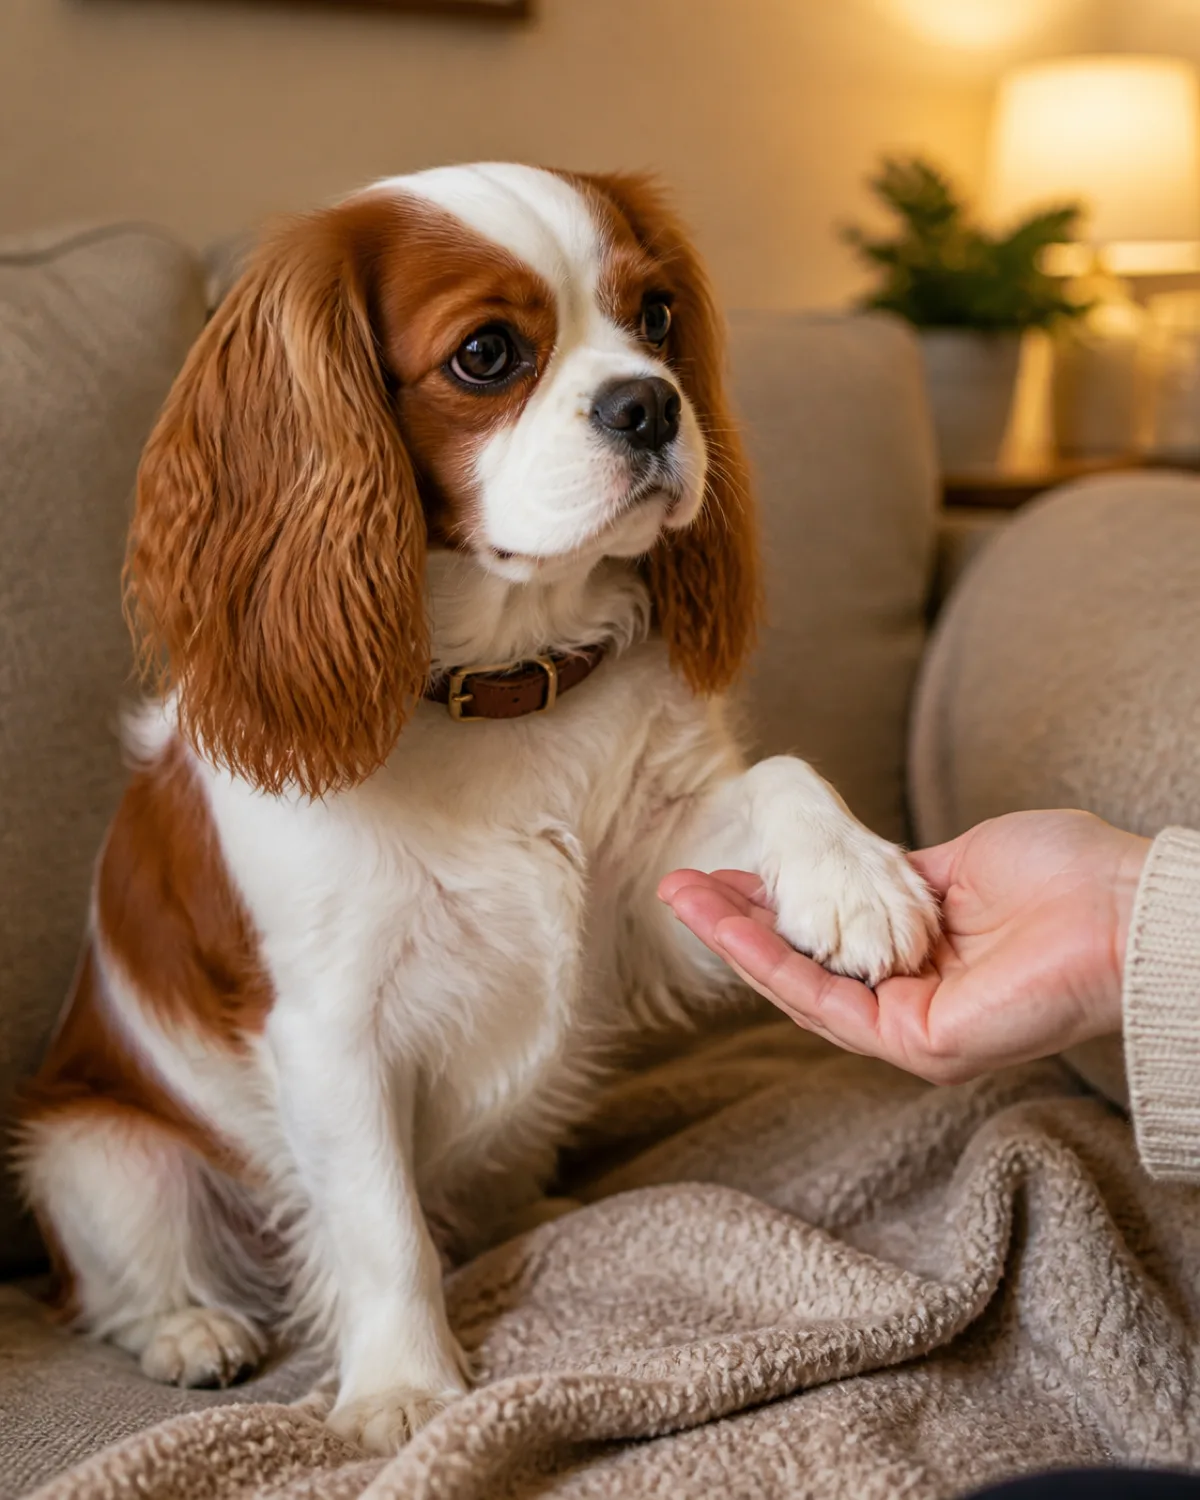
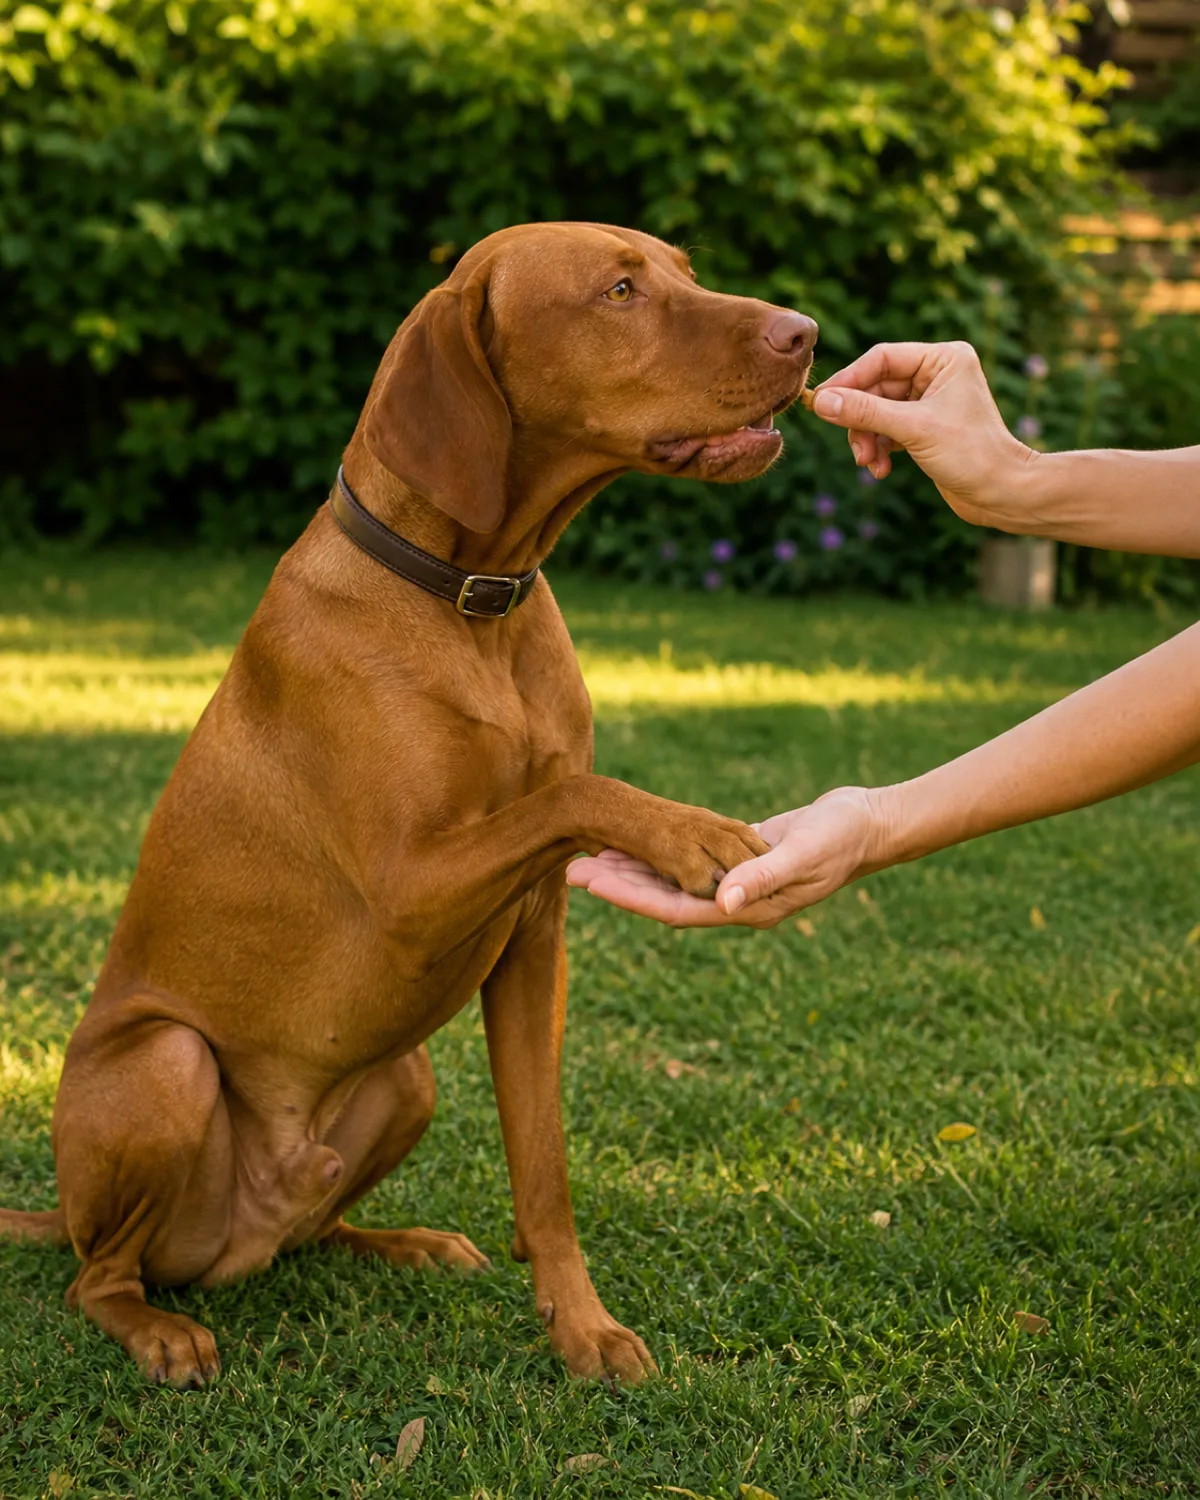
When the paw makes contact, open your hand underneath it and cup the paw lightly for one second. Mark, treat. Next rep, hold for two seconds. Then three.
Do not squeeze, lift, or shake the paw up and down at this stage. The dog needs to learn that having the paw held is part of the game, not a trap.
If your dog yanks the paw back when you cup it, you moved too fast.
Go back to the simple touch-and-release for another ten reps before trying the hold again.
Tip
Shelf, Not Grip
Think of your hand as a shelf, not a grip. The paw rests on your open palm — gravity holds it there, not your fingers.
7. Add the Verbal Cue Once the Behavior Is Reliable
Here is a rule that applies to every trick, not just shake: name the behavior after the dog already does it, not before.
If you start saying "shake" from the very first session, the dog hears the word during all the failed attempts, the confused nosing, the frustrated whining. The word gets associated with confusion, not success.
Wait until the dog is offering the paw at least eight out of ten times when you present your fist. Then add the word:
Say "shake" once, clearly.
Present your fist.
Dog lifts paw → mark → treat.
After twenty to thirty repetitions of this sequence, try saying "shake" without presenting your fist. If the dog lifts the paw, you have a verbal cue. If not, go back to the word-then-fist sequence for another twenty reps.
8. Fade the Treat Lure So the Hand Becomes the Only Signal
Right now your dog is working for the smell of the treat in your fist. That is a lure, and lures need to disappear or the trick only works when you have food in your hand.
Start presenting an empty fist. Same position, same height, same gesture. When the dog paws at it and hits your hand, mark — then reach into your treat pouch with the other hand and deliver the reward.
The treat still comes, but it comes from a different place. The fist is now just a hand signal.
Trouble spot: If your dog stops offering the paw when the fist is empty, go back to one more session with the treat inside, then try again. The transition usually sticks on the second attempt.
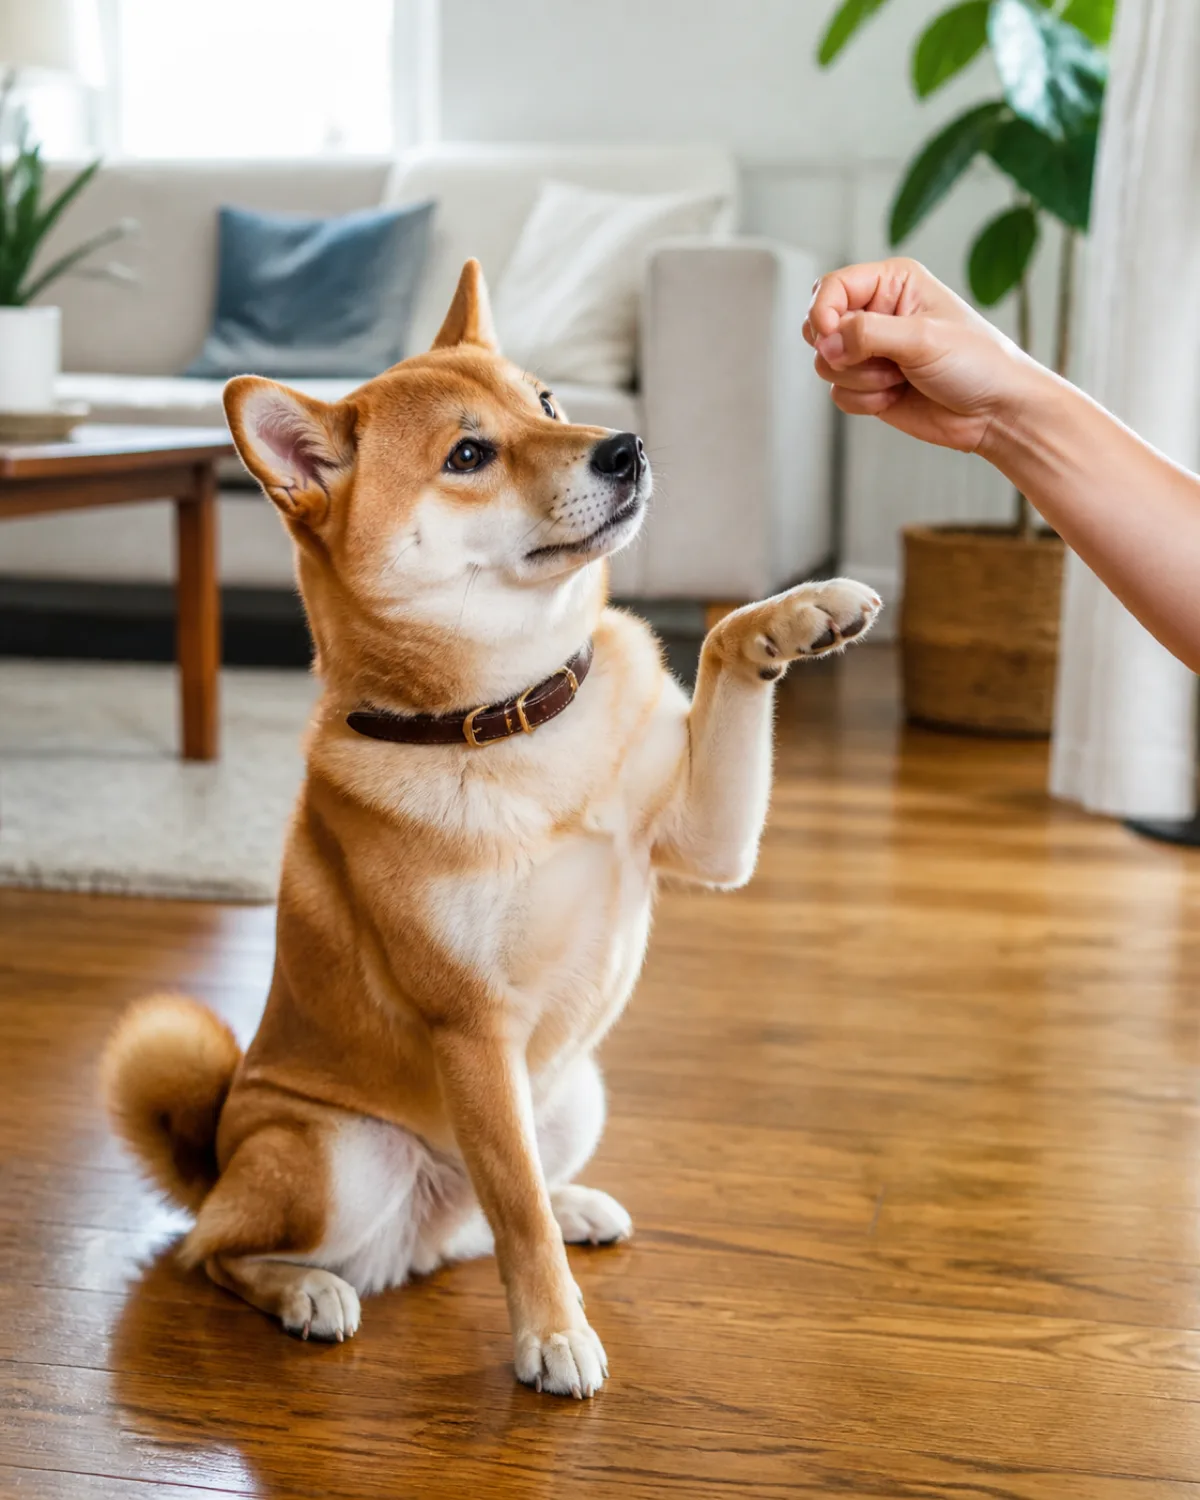
Over the next few sessions, gradually open that fist into a flat, extended hand — the universal shake gesture. The dog sees the open palm at paw height, offers the paw, and gets rewarded from the pouch.
Related Guides
More Hand-Signal Training
Leave ItAnother hand-targeting command that builds impulse control alongside trick work
StayStay and shake pair well because both reward stillness before action
9. Teach the Other Paw to Build Balance and Coordination
Most dogs have a dominant paw, just like most people are right-handed. Your dog probably offers the same front leg every single time — and that is fine for a basic shake.
But teaching the other paw does two things. It strengthens the weaker side (physical balance) and it teaches the dog to listen for which paw you want (mental discrimination).
Use the same closed-fist method, but present your hand on the opposite side. If the dog usually shakes with the right paw, hold your fist slightly to the dog's left so the left paw is the natural reach.
Mark and reward only the correct paw.
If the dog offers the usual one, wait quietly without rewarding.
Most dogs try the other paw within ten seconds.
Use a different word. "Shake" for the right paw and "other paw" or "left" for the other. Keep the two cues distinct from day one.
10. Add a High-Five Variation for Extra Fun
Once shake is solid, high-five is a five-minute add-on.
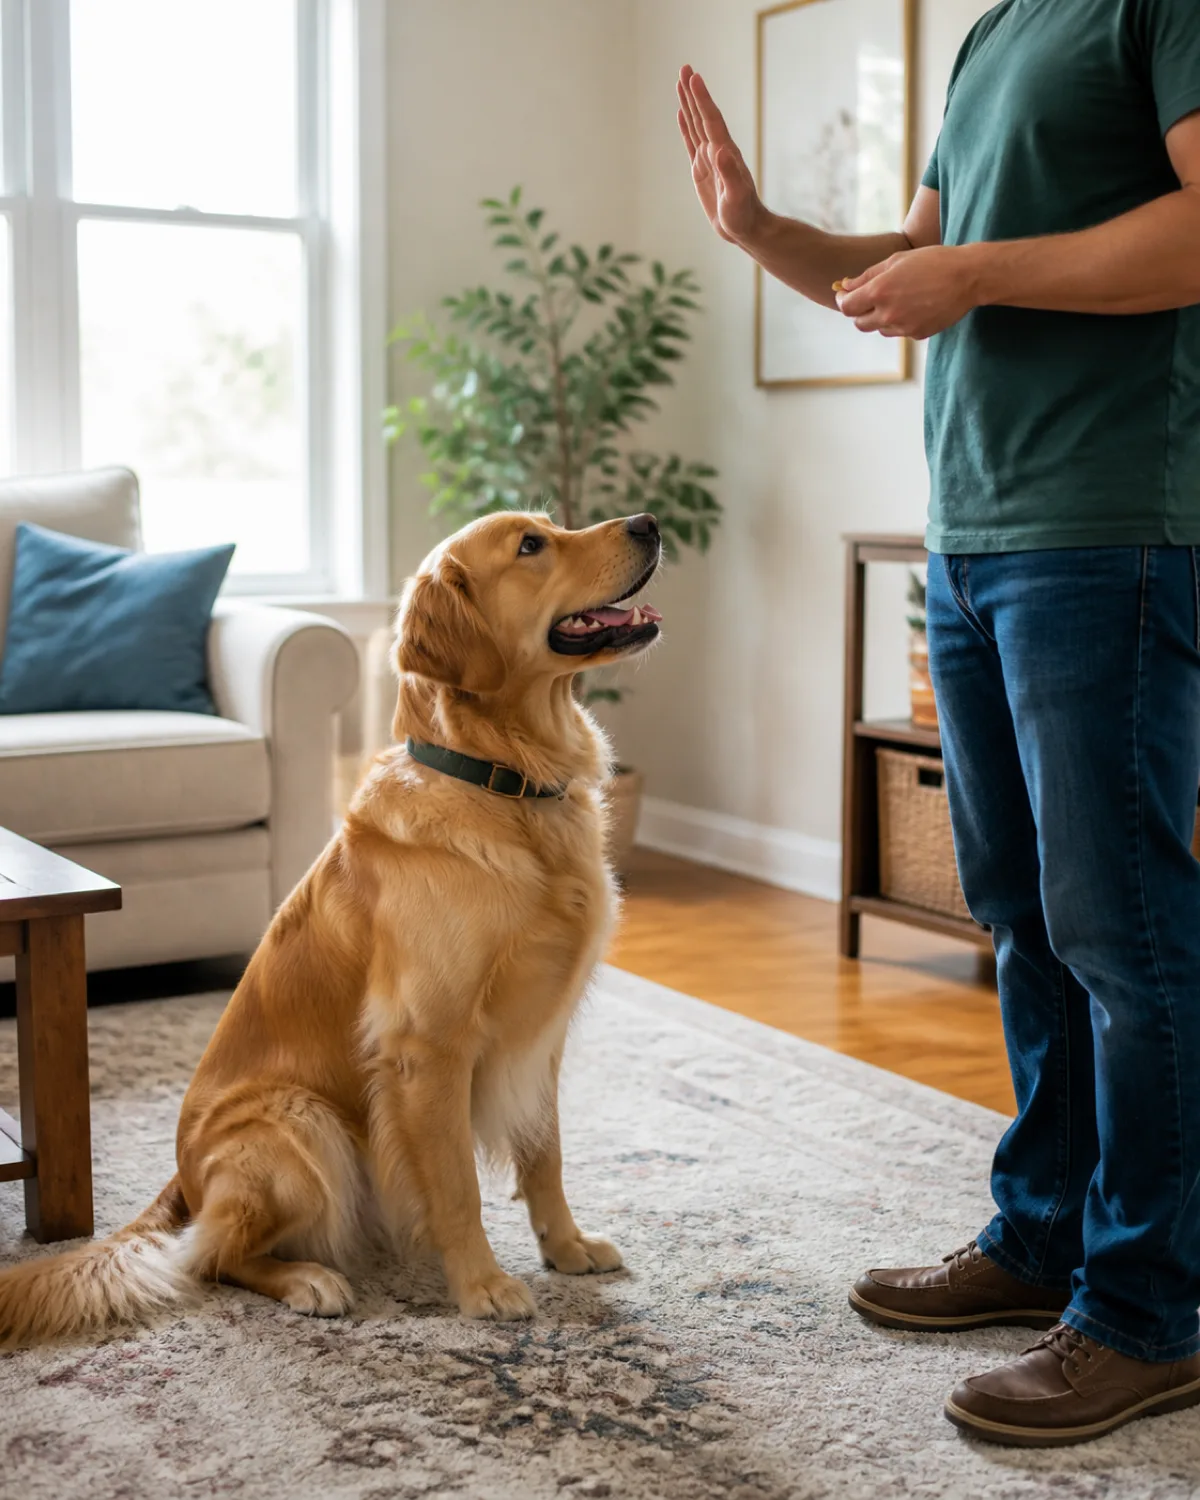
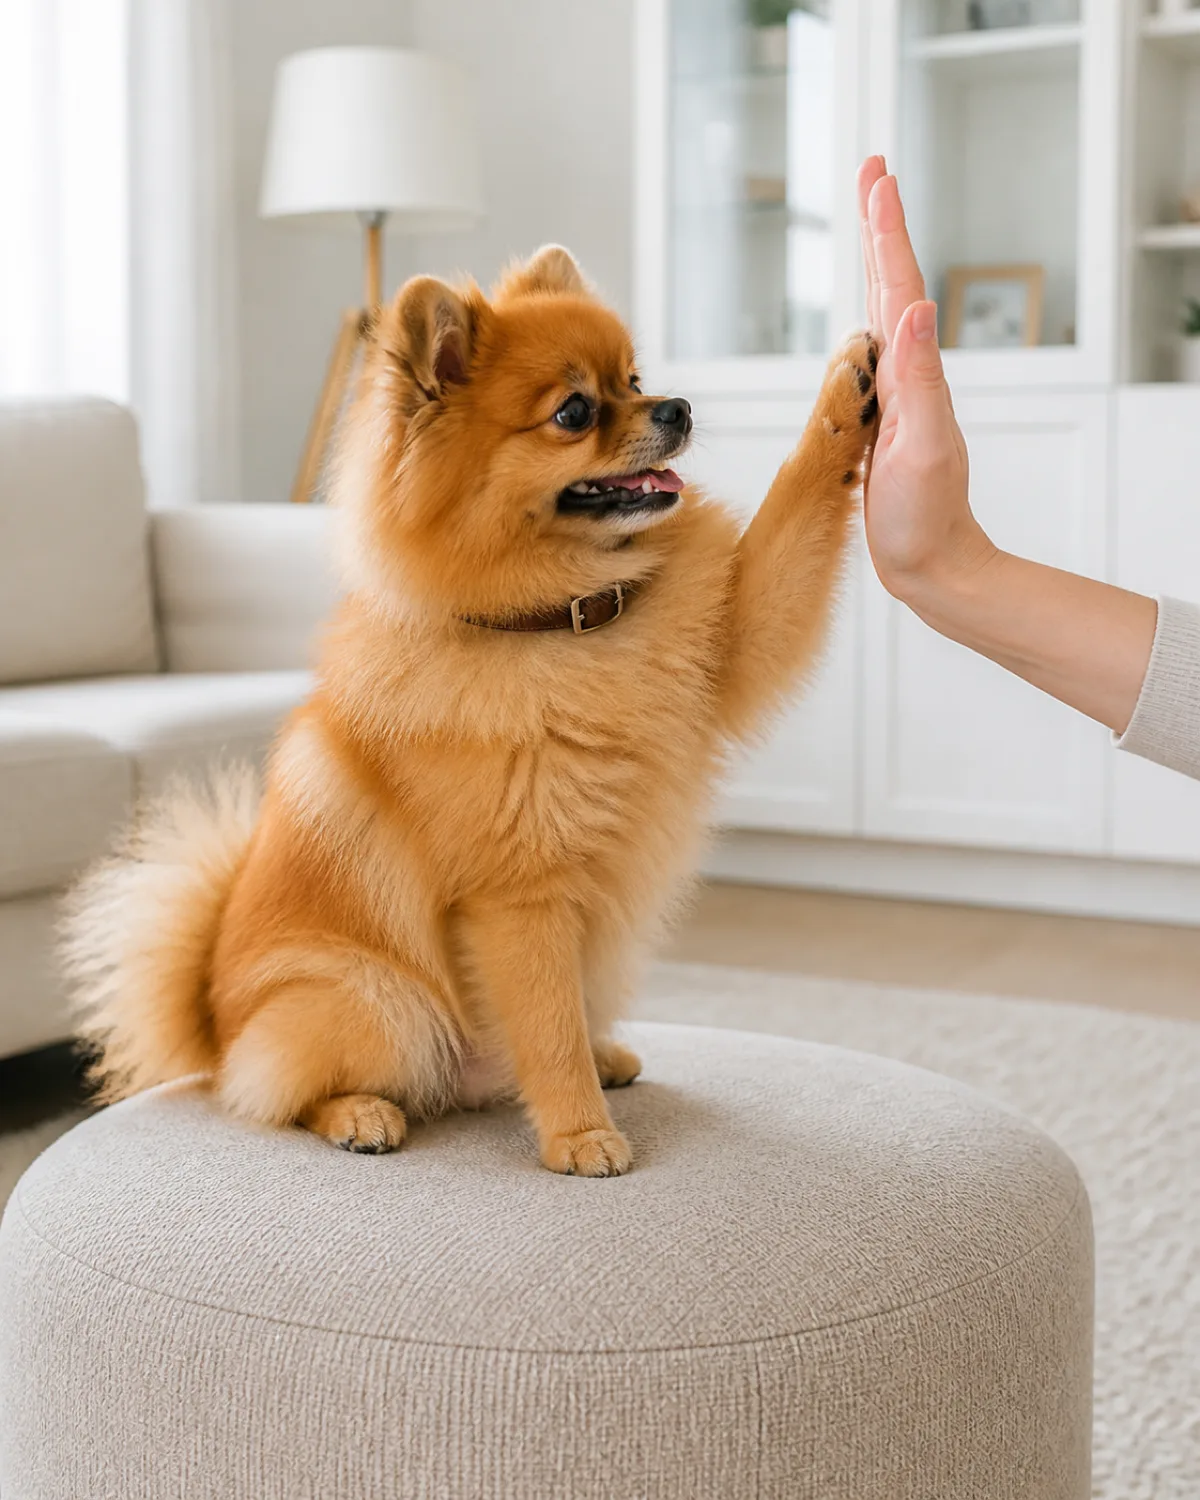
Instead of holding your palm flat underneath the dog's paw, turn your hand so your palm faces the dog vertically — the same gesture you would use to high-five a person.
Hold it at your dog's head height. The dog already knows "paw goes to hand," so the transition is usually immediate. When the paw hits the vertical palm, mark and treat.
Trick
Hand position
Dog's paw action
Shake
Palm up, horizontal
Paw rests on your palm
High-five
Palm facing dog, vertical
Paw strikes your palm
Wave
Palm facing dog, pulled back
Paw swipes at empty air
Most dogs figure this out in three to five repetitions because the underlying behavior is identical — only the hand angle changed.
Tip
Wave in One Session
Wave is just a high-five where you pull your hand away before contact. Once high-five is reliable, you can teach wave in a single session.
11. Practice in Different Rooms Before Taking It Outside
Dogs do not generalize the way people do. A dog that shakes perfectly in the living room may stare blankly at you in the kitchen because, in the dog's mind, "shake" is a living room game.
Move to the kitchen. Ask for shake. If the dog hesitates, go back one step — present the fist with a treat inside — and do two or three lured reps in the new room. Then fade the lure again.
Rule of thumb: Each new environment may need one to three refresher lured reps before the dog performs on verbal cue alone. That is normal and not a setback.
Do not skip to the hardest environment: A dog park with twenty other dogs is not the place to test a new trick. Build up gradually.
Once shake works in every room of the house, try the backyard. Then a quiet sidewalk. Then a park bench away from heavy foot traffic.
12. Keep Every Training Session Under Three Minutes
Trick training is sprinting, not running a marathon. Three minutes of focused shake practice, three to five times a day, beats a single fifteen-minute block every time.
Short sessions keep the dog in peak learning mode. Long sessions invite frustration, boredom, and sloppy repetitions that actually teach the wrong thing.
End every session on a success. If the dog nails a shake on rep number four, stop right there — jackpot three treats in a row, give enthusiastic praise, and walk away.
Save This
Signs Your Session Has Gone Too Long
1Slower response timeThe paw lift that took 1 second at the start now takes 5 — the dog is mentally tired
2Sniffing the floorDisplacement behavior — the dog is avoiding the task by pretending to find something interesting on the ground
3Offering random behaviorsSit, down, roll over, bark — the dog is throwing everything at you hoping something sticks
4Walking awayThe clearest signal — your dog is done and you should have stopped two reps ago
pawliqa.com
13. Ask Friends to Request a Shake So Your Dog Generalizes
Your dog knows you. Your body language, your tone, the exact angle of your hand. A stranger uses different cues without even realizing it — different hand height, different voice pitch, different posture.
That is why many dogs shake perfectly for their owner and freeze when a guest tries.
Start with someone the dog already knows and likes. Have them sit in a chair, offer a treat to break the ice, then present an open palm at paw height and say "shake."
If the dog hesitates, you stand behind the friend and give the cue yourself. The friend catches the paw.
Common hesitation point: The dog looks back at you instead of shaking with the friend. That is the dog asking "is it okay?" Give a small nod or a calm "go ahead."
Gradually phase yourself out until the dog will shake with anyone who asks, using the standard hand gesture and verbal cue.
14. Chain Shake Into a Greeting Routine That Replaces Jumping
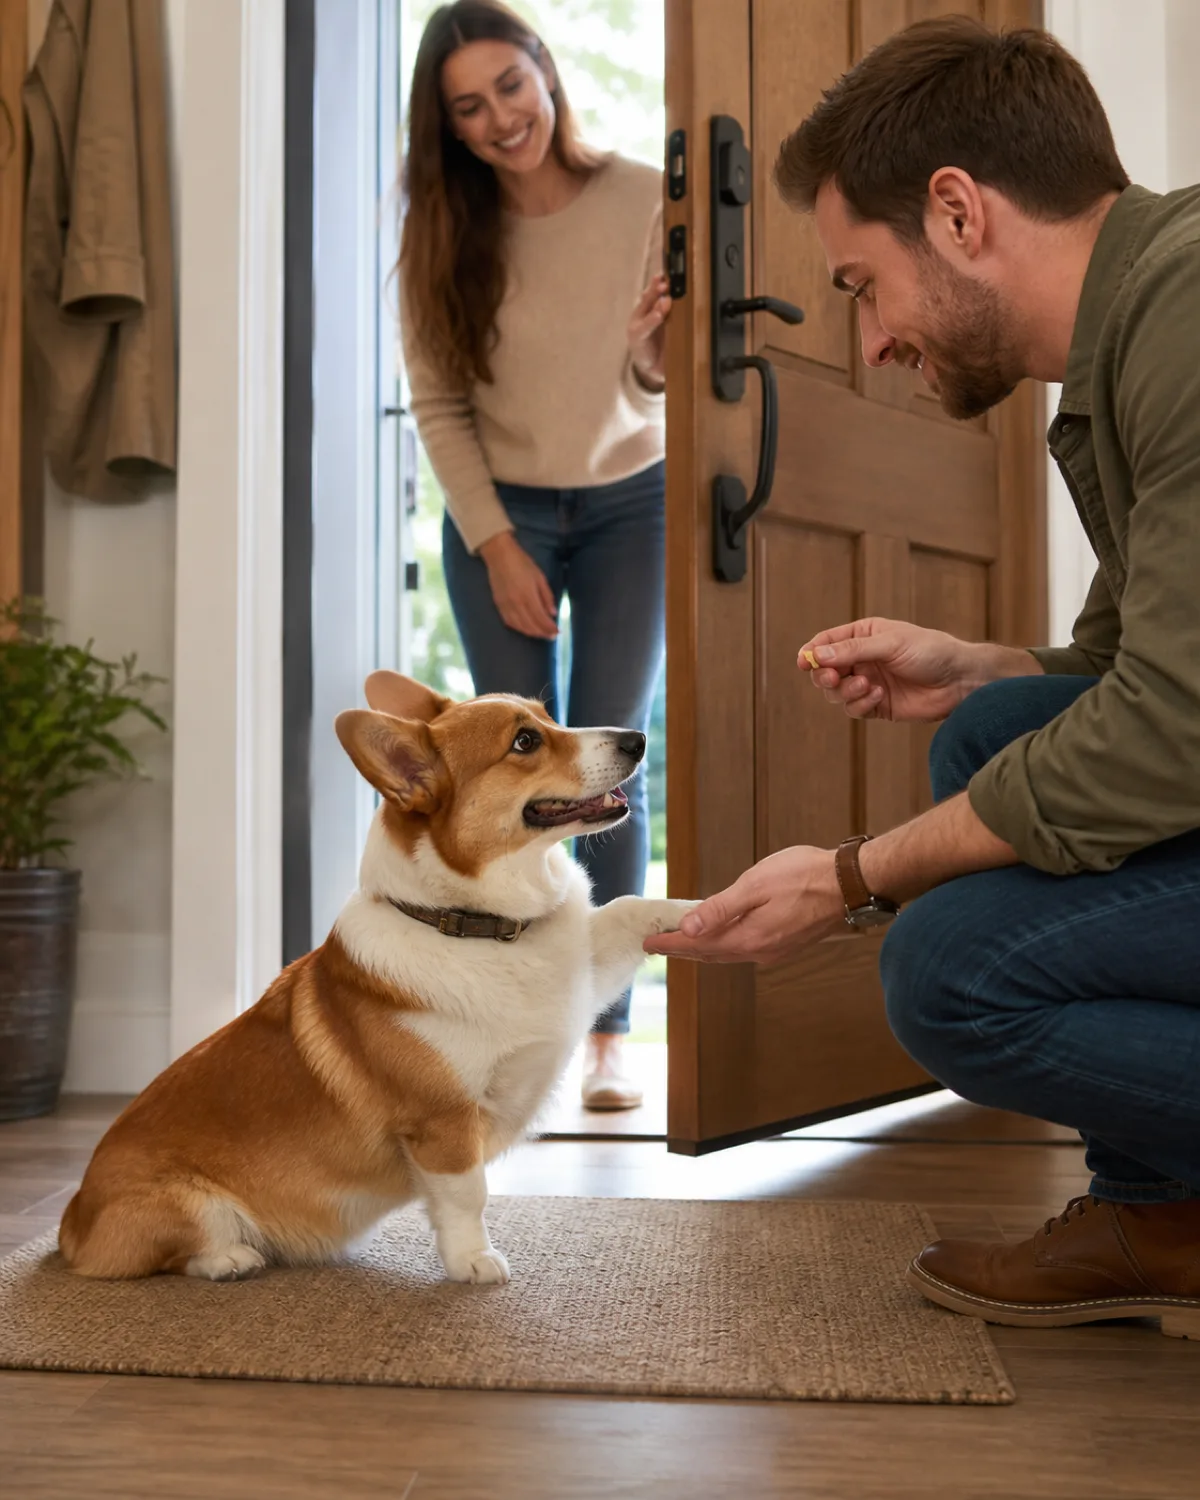
Shake is charming on its own, but its real power shows up at the front door.
Most dogs jump on guests because they have no alternative behavior to offer. Shake gives them one. The sequence works like this:
Doorbell rings. You ask your dog to sit.
You open the door. Guest enters.
You say "shake." Dog extends paw.
Guest takes the paw, says hi, and gives a treat.
Dog gets attention, praise, and food — all four feet on the ground.
The chain replaces jumping on people with a behavior that is socially impressive and physically calm. Guests love it, and dogs figure out very quickly that the paw earns more rewards than the leap.
Practice this chain ten times with a cooperative family member playing "guest" before you try it with a real visitor.
Tip
Front Door Treat Jar
Keep a small treat jar by the front door. When guests arrive, hand them a treat and say "ask for a shake." The dog learns that every new person is a shake opportunity, not a jumping target.
Written by
Jess Calloway
Dog mom to three very different dogs and the voice behind Pawliqa. Jess writes practical, experience-tested guides for real dog parents — not perfect ones. More about Jess
Shake is one of those tricks that looks simple on the surface — and it is, mechanically. But the process of teaching it well teaches your dog something bigger: that offering a behavior is more powerful than waiting for you to make it happen. That lesson carries into every command you teach next.
Twelve common dog body language signals from a relaxed slow tail wag to a tucked tail and whale eyes, with what each gesture actually means in context and exactly how to respond so your dog feels heard and safe every time.
Twelve practical ways to stop a dog from begging for food, from place training and mealtime management to guest protocols that keep your dog calm around the dinner table.
Fifteen practical steps for clicker training your dog, from charging the clicker and timing your clicks to shaping complex behaviors and fading treats.